| Back to Back Issues Page |
 |
|
November 2018 Trail Bytes: Vacuum Sealing Dehydrated Meals - Improved Technique November 23, 2018 |
| Hello, I always vacuum seal dehydrated meals for backpacking trips. It keeps food organized in the pack while protecting it from moisture and mice. With food odors sealed inside the bags, mighty-sniffing bears and clever raccoons have yet to find my stash. A whole day’s worth of rations – breakfast, lunch, supper, and snacks – used to fit in one 11” wide vacuum seal bag, but when I increased meal sizes by fifty-percent, from regular to large, it became necessary to split daily rations into two bags: Bag One for breakfast and snacks; Bag Two for lunch and supper. Note: My cookbook, Recipes for Adventure, shows both regular and large serving sizes for each recipe. A problem that sometimes occurs when vacuum sealing dehydrated meals is that the hard edges of dried ingredients puncture the bags, causing seals to fail. To reduce that from happening, I used to slide paper towels (cushioning) under and over the meals inside the vacuum bags. The paper towels didn’t completely cover the food, so ten to fifteen percent of seals still failed. The Solution: Wrap each bagged meal individually in a paper towel. How to Vacuum Seal Dehydrated Meals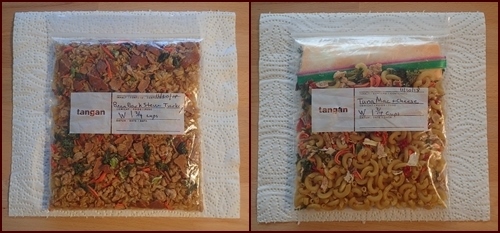
Begin by packing meals in sturdy plastic bags. Quart-size freezer bags are a good size for packing large meals, and the bags have thicker plastic compared to flimsy sandwich-size bags. Before you fill the bags, write the name of the recipe, the amount of water needed for cooking, and the date packed, on the outside of each bag. Place each filled bag on top of a paper towel. Flatten out the ingredients to fill the bag completely and evenly. In the photo above, note that the meal on the right includes an enclosed bag of milk/cheese powder. By positioning any bags of powdered ingredients across the top, with no food above or below, you won’t create any bulges. Apply pressure with hands to push out as much air as possible, and zip the bags closed.
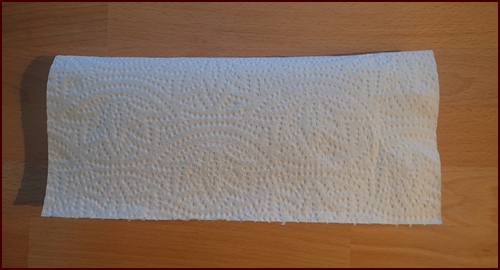
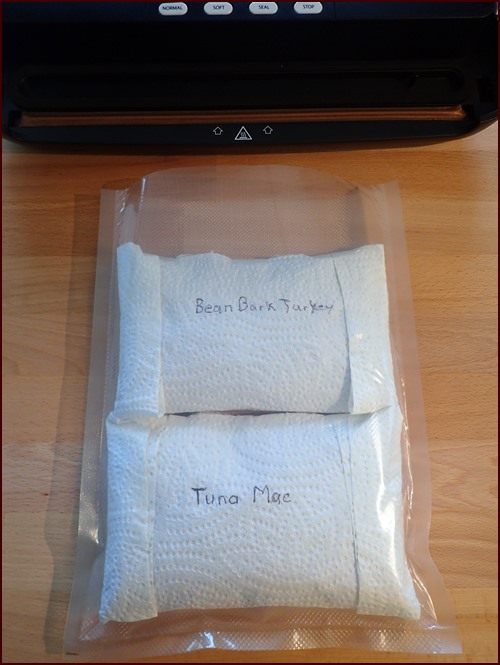
Fold bag and paper towel in half.
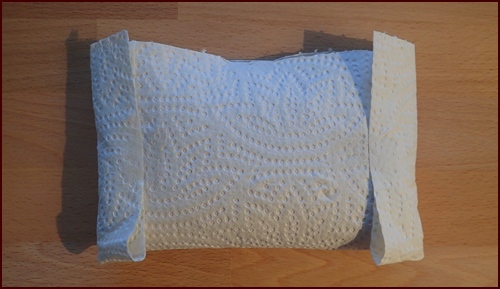
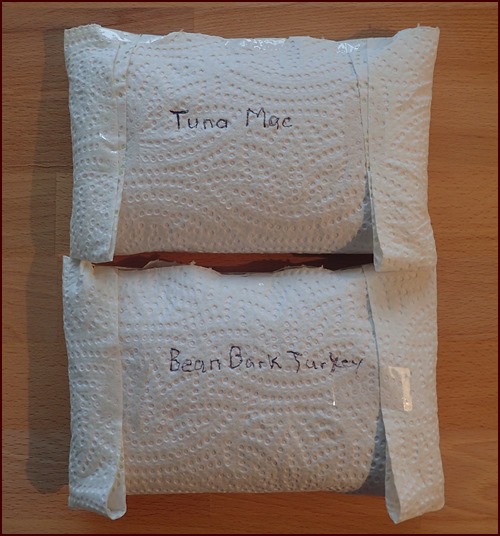
Pull up sides of paper towel and apply tape to attach. Apply three more pieces of tape to the longer open side. Write the name of each meal on the outside of the paper towel.
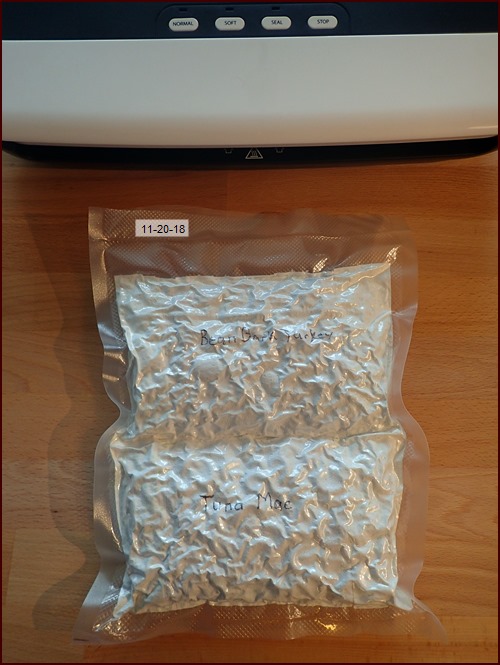
Two meals fit nicely in an 8” wide vacuum seal bag, cut to 11” length.
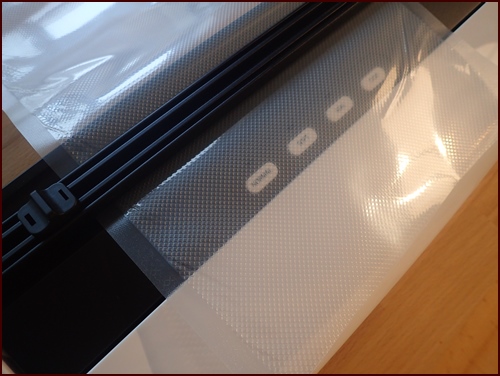
If you are shopping for a vacuum sealer, go with one that has a built-in sliding bag cutter, as shown above. Buy 8” wide rolls, and save money compared to buying individual bags.
Vacuum Sealing Steps:
Done! In addition to vacuum sealing dehydrated meals for backpacking trips, this method of preserving complete meals is ideal for home storage. If a weather emergency strikes, and you have to leave your home, or hunker down with no electricity, you won‘t have time to fiddle around with assembling meals from a stash of dried ingredients stored in jars. Be ready to go, with ready to eat meals.
Coming Soon: The Recipes for Adventure Action GuideUpdate: The Recipes for Adventure Action Guide: Dehydrating 31 Meals is ready!In the past few months, friends and relatives of mine had to evacuate their homes in North and South Carolina, where hurricanes caused flooding and wide-spread destruction. In October, Dominique and I had to cancel a planned vacation to Panama City Beach, Florida, after a hurricane struck there. In California, my sister had to evacuate her home due to one of the massive forest fires. With these recent calamities hitting close to home, I thought, “Am I prepared for an emergency?” Surprisingly, I wasn’t as prepared as I could have been. The cupboards were full of jars of dried food from my experiments, but there were only a few meals assembled and ready to go. So, I sprang into action!
Over the course of a few days, I dried and assembled thirty meals using recipes from Recipes for Adventure. In the process, I documented every step: creating the menu, making the shopping list, prepping and drying the food, and finally assembling and vacuum sealing the meals. You could figure this out on your own with the help of Recipes for Adventure and The Menu Planning & Food Drying Workbook, but the new Action Guide handles all the figuring, so you can jump right into action. In under a week, you’ll have thirty nutritious dried meals, packed and ready to go. The Action Guide will be offered in e-book format at a very nominal price to anyone who owns a copy of Recipes for Adventure.
Freundliche Grüsse & Happy Thanksgiving!
Chef Glenn & Dominique P.S. If you have any questions or comments about this issue of Trail Bytes, please reply to this email or use the contact form at BackpackingChef.com. 

If you received this newsletter from a friend and would like to subscribe (it's free), subscribe here. Visit my BackpackingChef Facebook page for the lastest posts. Be sure to "follow" the page to continue seeing posts. |
| Back to Back Issues Page |