| Back to Back Issues Page |
 |
|
June 2022 Trail Bytes: Rhubarb-Apple-Berry Spoon Smoothie June 10, 2022 |
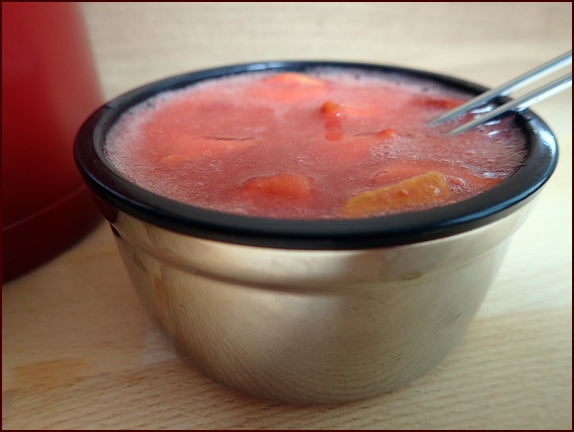
| Hello, What the heck is a spoon smoothie? It’s kind of like Campbell’s Chunky Soup—the soup that eats like a meal®, only it’s cold and fruity.
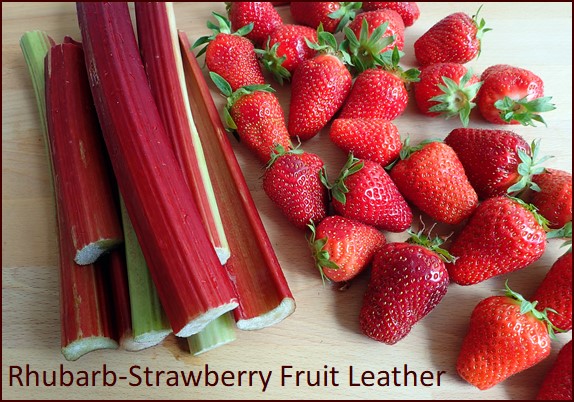
Several rhubarb-strawberry fruit leather recipes came in, and I added them, along with mine, to the Strawberry Fruit Leather page. Thanks everybody for sharing.
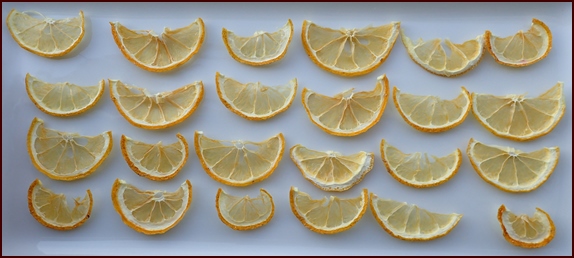
No More Brown Lemons & LimesYou may recall a few months back that I was not happy with lemons and limes turning brown in the dehydrator. It’s still a mystery to me why lemons and limes turn brown at 135°F (57°C), while oranges and grapefruits do not. It’s not the sugar content; oranges are much higher in sugar than lemons and limes. It may have something to do with the lower concentrations of carotenoids, which give the light color to lemon and lime pulp.In any case, to solve the browning problem, drop the dehydrator temperature down to 115°F (46°C) for lemons and limes. To speed up dehydration at the lower temperature, cut them in half lengthwise, and then slice very thinly across. Place half-slices on dehydrator trays with the cut side facing into the fan. Start out with the lemons on nonstick sheets, but as soon as there is no loose juice, remove the nonstick sheets. With these methods, I was able to dehydrate lemons and limes at the low temperature in 13 hours. Once dried, they make delicious and healthy snacks—tart and crunchy. Try adding a few slices to your water bottle too. Store them in a sealed container at home. For longer storage, use an oxygen absorber.
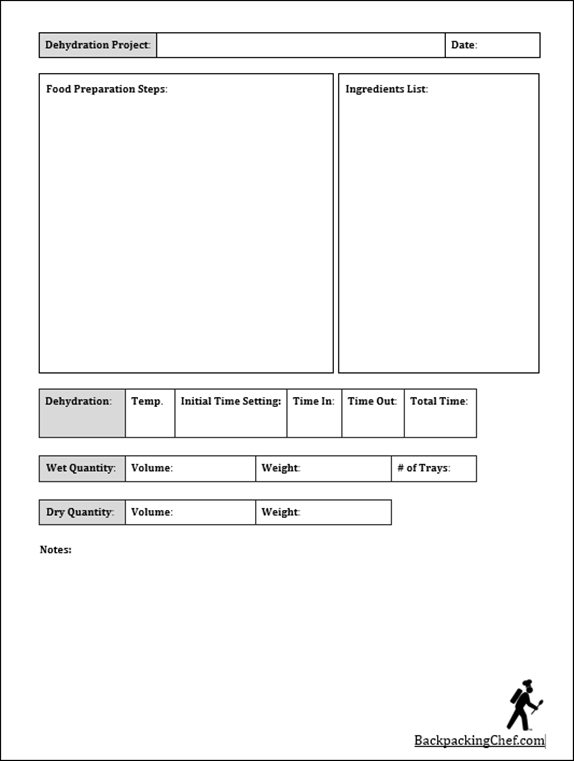
See: The Comprehensive & Fun Guide to Dehydrating Fruit Speaking of better organization…Are you keeping notes of your food dehydration projects?When I head to the kitchen to work my dehydrator magic, I take paper and pencil with me. I write down the ingredients, preparation processes, dehydration temps, times, and yields, etc. I use a pencil because I make adjustments as I work. If I end up with a failed or so-so result, like when life gives you brown lemons, I make notes on how to improve the next lot. The form below is what I use to keep notes. It’s old-fashioned in its non-digital simplicity, but it works.
See: Printable Dehydrating Food Project Sheets Dominique and I head out next week to France to celebrate her birthday in the coastal regions of Normandy and Brittany. I’m aiming to come up with a new cold-soak salad recipe for the trip. Thinking mango and curry sound good together. Any ideas? A bientôt en juillet,
Chef Glenn & Dominique P.S. If you have questions or comments, or would like to share a recipe, please reply to this email or use this contact form.
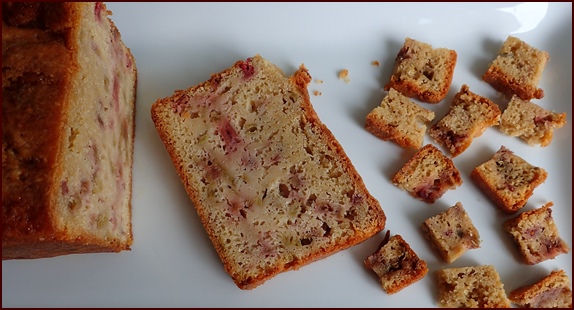
Rhubarb CakeShared by Dominique McAllister
Ingredients:
Procedure: Mix the butter and brown sugar together, if necessary in warm water bath. Add eggs and a pinch of salt, and mix well again. Add the grated lemon peel, flour, and one packet of baking powder (23 g). Mix well again. Cut rhubarb into small pieces. Mix all the ingredients again and pour the dough into a cake loaf pan of 32–35 cm lined with baking paper. Preheat oven to 350°F (180°C). Bake rhubarb cake for approximately 55 to 60 minutes in the lower part of the oven. You can also turn the temperature down after 30 minutes to 320°F (160°C), according to your oven, so that the cake does not get too dark. Grandma’s Favorite Rhubarb DessertShared by Nancy Evans Spread 5 cups of diced rhubarb in a 9x12 inch glass baking dish. Sprinkle over top of rhubarb in order:
Melt ½-cup butter and combine with 1 cup warm water. Pour over cake mix in the dish. Bake at 350°F (180°C) for 1 hour, checking that the rhubarb is soft and the topping is set before removing from oven. Serve at room temperature or cold. A little vanilla ice cream on top is a must! Rhubarb Rounds for Trail ToastShared by Amy Wash and slice rhubarb into ½-inch pieces, and put in pot with just enough water to cover. Rhubarb is so full of water that if you add too much, you will end up with soup. Cook until rhubarb falls apart when stirred with spoon. If you find you added too much water, cook it down until it is thick. Add sugar or Splenda to sweeten to taste. Drop it on the dehydrator sheet by spoonfuls so that they spread to the size of a quarter or 50-cent piece. Dehydrate at 135°F (57°C). They should pop off when you bend the sheet. By dehydrating the rhubarb in small rounds you avoid the problem of having it crumble when you cut a big sheet of leather with scissors. I carry the rounds in a baggie with my other dehydrated fruit. For breakfast in camp, I carefully dunk rhubarb rounds in tea, and then lay the wet rounds on Rye Krisps, spooning a couple more drops of hot tea on it, but not so much that it make the Rye Krisp soggy. I let it sit while I eat my morning gruel, and then enjoy my toast and jam with tea.
If you received this newsletter from a friend and would like to subscribe (it's free), subscribe here. Visit my BackpackingChef Facebook page for the lastest posts. Be sure to "follow" the page to continue seeing posts.
|
| Back to Back Issues Page |